
Do you want to learn how to track lead sources in ActiveCampaign?
A user enters your website and fills out a signup form. When they buy something or go to a webinar, you may be unable to attribute the sale back to the source where the user came from because they may have just returned to your website.
Why do you need to track the source? It can be valuable for getting the retribution right. That is why I am a huge proponent of sending your source information directly into your CRM, such as ActiveCampaign.
You should have a source field to indicate where the user came from in the user profile.
If you download information on your users, you can build a visualization to help you allocate your budget. If you track conversions, you can also backtrack to the source.
Today, we will explore how to import UTM parameters in ActiveCampaign and Google Tag Manager, ensuring you can accurately attribute sales to their sources.
Here is an overview of how to track lead sources in ActiveCampaign:
- Creating Custom Fields in ActiveCampaign
- Creating a Form in ActiveCampaign
- Making Hidden Form Fields
- Saving the UTM Information with 1st-Party Cookies
- Filling Hidden Form Fields with UTM Information
- How to Track Lead Sources in ActiveCampaign: Testing
Join us as we walk through setting up hidden form fields, utilizing cookies, and automating the entire process for seamless integration and valuable insights.
Let’s dive in!
Creating Custom Fields in ActiveCampaign
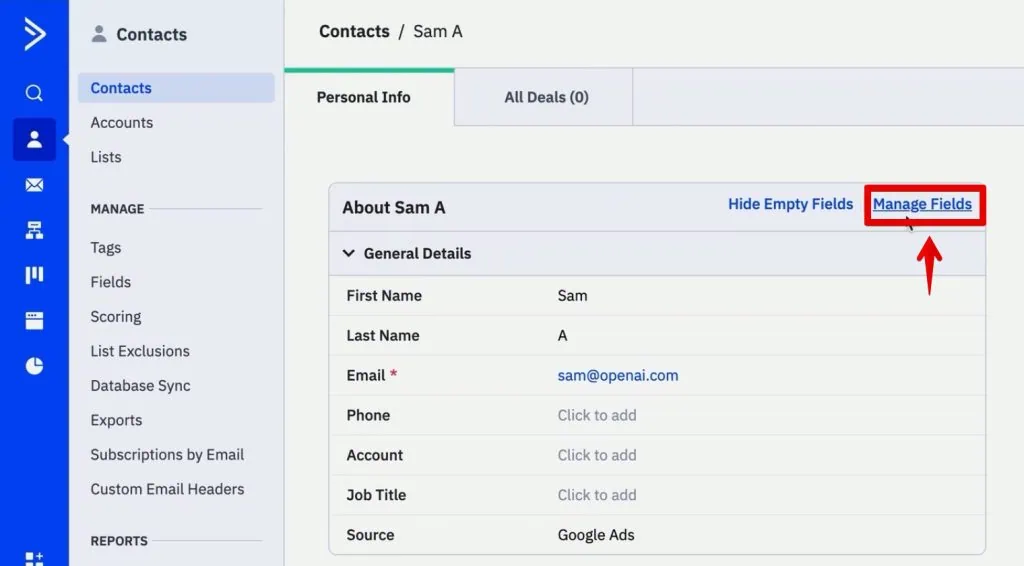
The first step to set this up is to put custom fields in ActiveCampaign where we want to save that information.
In the Contacts section, click Manage Fields.
We will add new fields so that we can track UTM parameters.
💡 Top Tip: Check out our guides to learn How to Track UTM Codes in GA4 and even Create Custom UTM Parameters via GTM.
Click Add Field at the top-right corner.
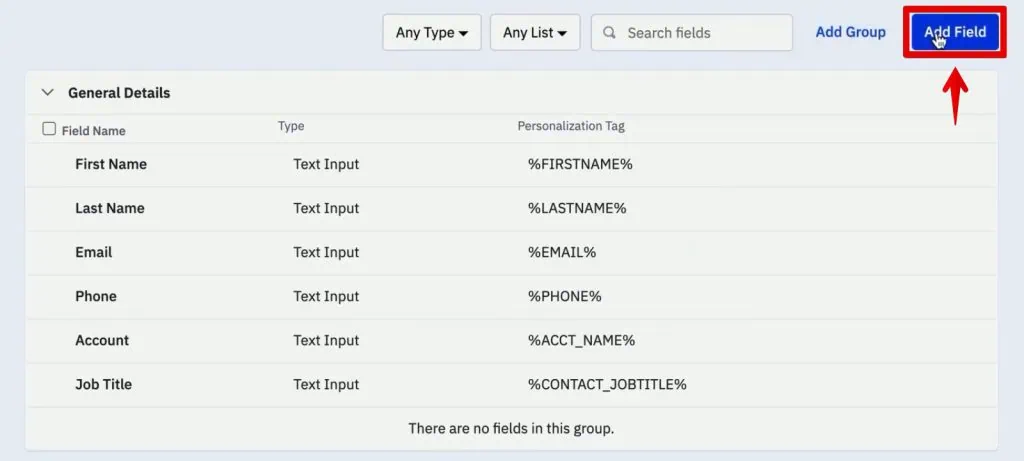
Let’s call this first field the utm_source and then click Add.
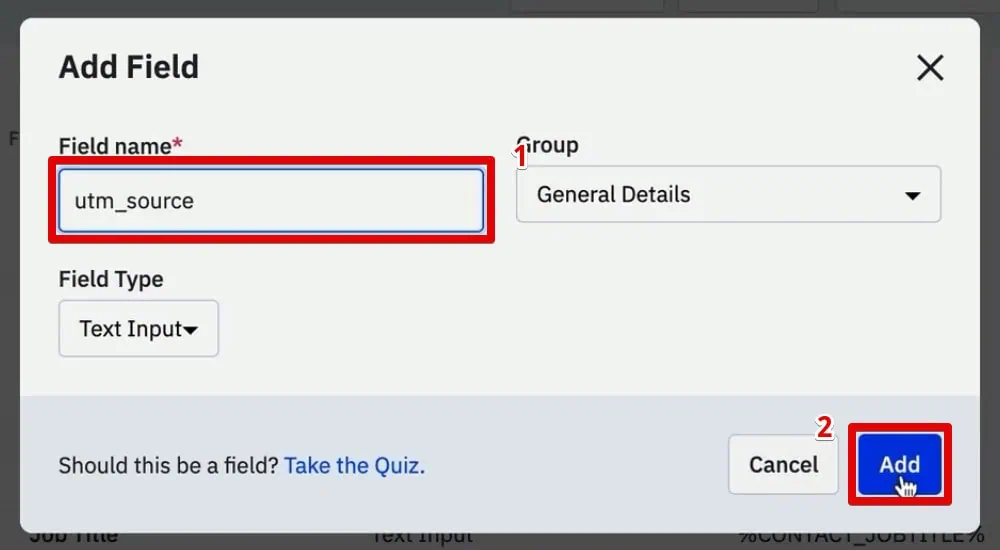
Next, repeat these steps for the utm_medium, utm_campaign, utm_content, and utm_term parameters.

Now, there are more UTM parameters that you can attach to the links that you send to your website, but we will concentrate on these five since they are the most common ones.
These new fields should be available when you open a user’s profile on the contacts page.

You can fill in this information manually, but we want to do it directly on the form so we know where the user came from in the first place.
Now that we have our ActiveCampaign fields prepared, we must prepare our form with these fields available. Then, when the user fills out the signup form, we have the fields available to fill our information in.
Creating a Form in ActiveCampaign
Go to Website → Forms and create a new form.

Name the form Sign Up. Set the form style to Inline Form and the form action to Subscribe to a list → Leads. Finally, click Create form.
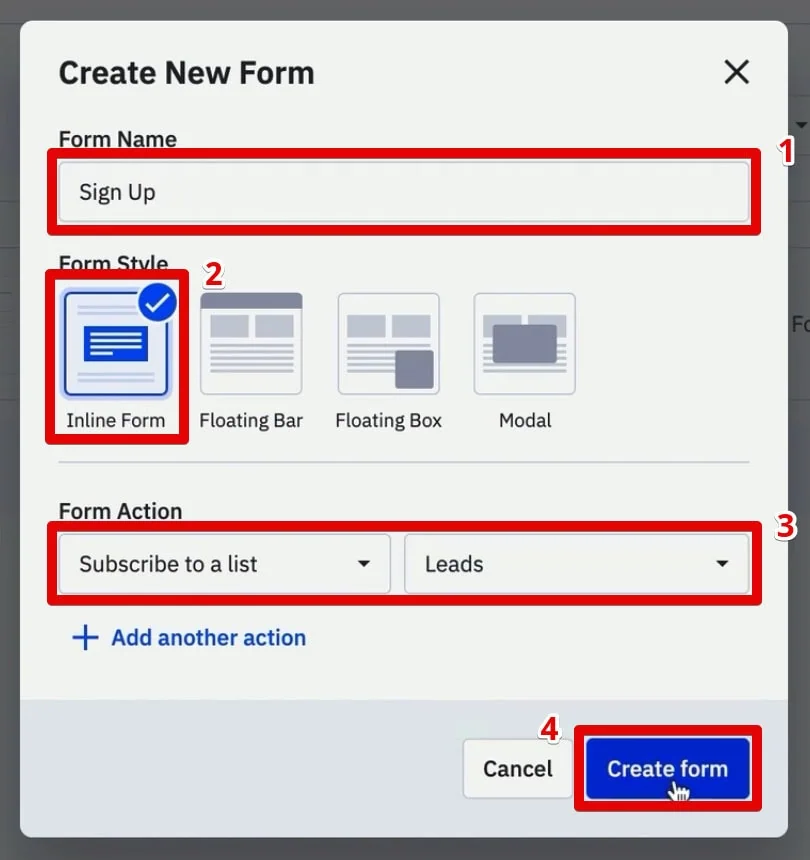
It needs to be an inline form, as we will alter the HTML later.
Next, we want to put in the form fields we just created. Drag and drop the UTM parameters to the form.

Ensure you have added all the UTM parameter fields to the form.

Select each form and delete the contents of the field header.

We will hide the entire field from the users later. Then, we want to fill out the contents automatically in the background.
You will still see the fields here, but we will hide them later.
Finally, click Integrate.

That will give you full embed HTML code for placing it on your website.
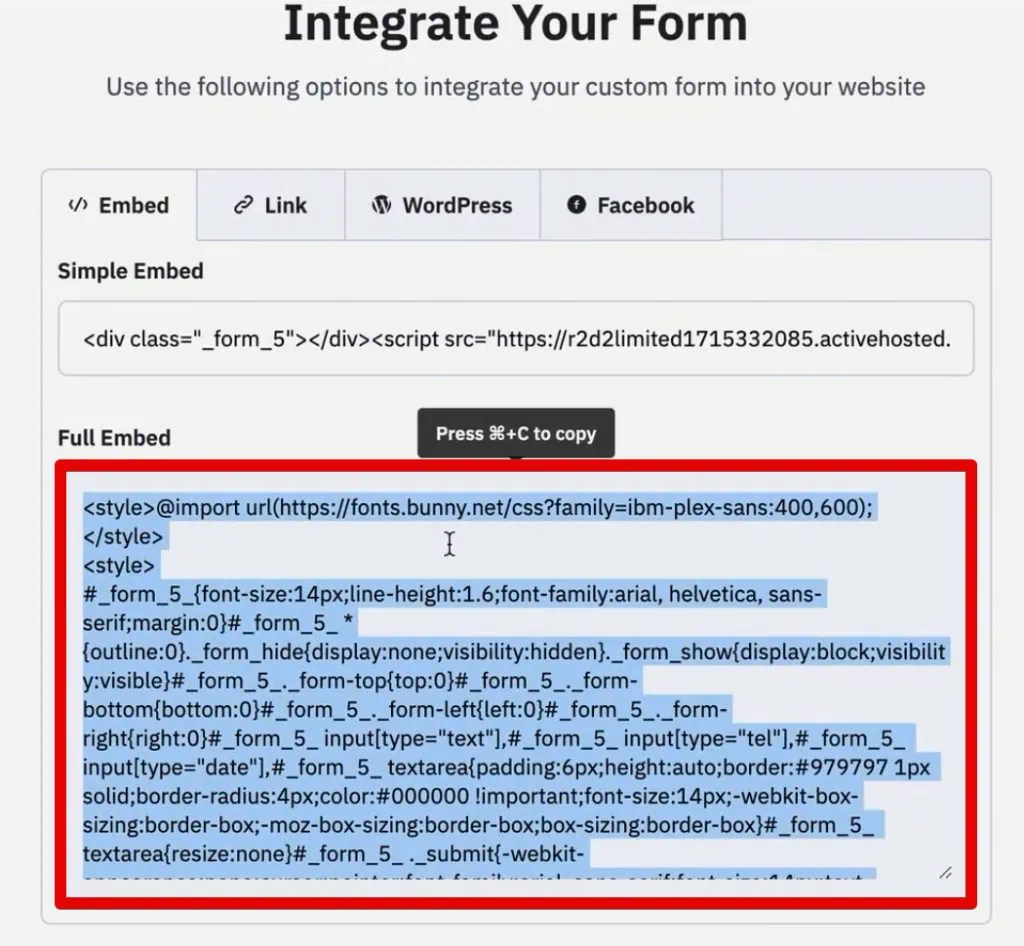
Copy this code. Go to your website and edit the page where you want to put the form. Paste the code to that page’s source HTML code.

Next, we want to modify the HTML code so that the form fields are not visible.
Making Hidden Form Fields
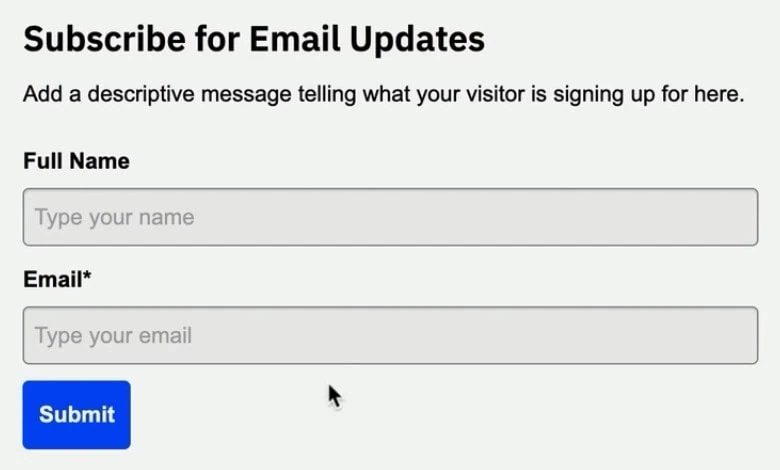
Let’s quickly check our website and confirm that our form is showing correctly.
Great! Our form loads correctly, but the UTM parameter fields are still visible.
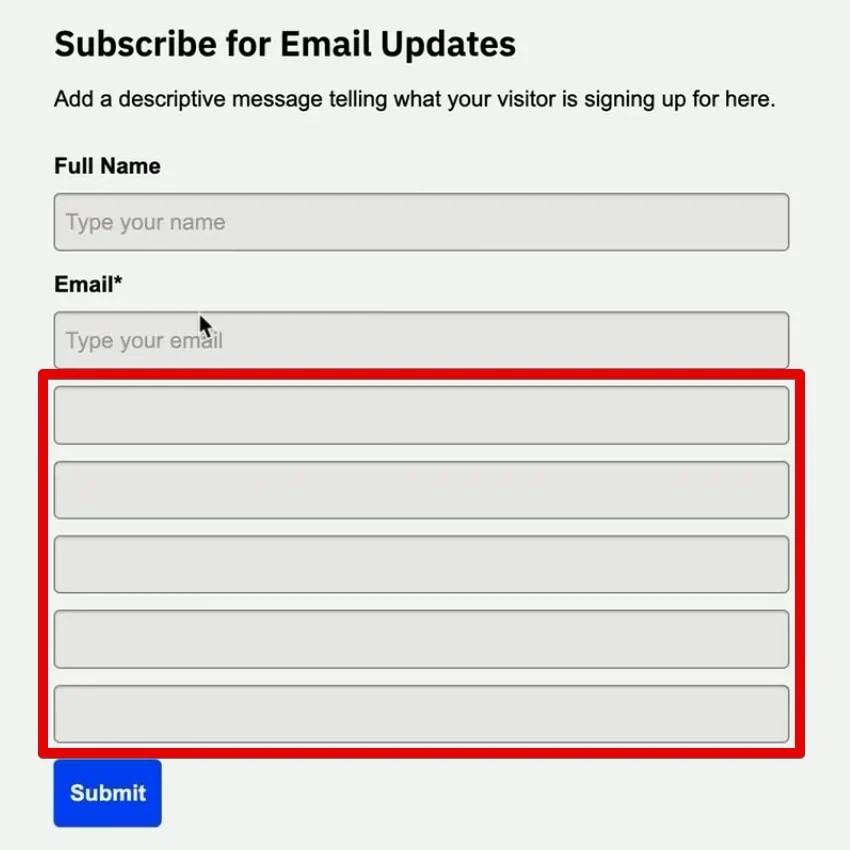
To hide these fields, go into the code and look for the input tags.

Here, we have the email and text fields for field 5. Scrolling down a bit, you will see the other form fields. Since the field names are not as intuitive, it is difficult to determine which corresponds to our UTM fields.
Let’s use the Chrome Developer Tools to determine which field is which.
Right-click on the first form field you want to hide, then click Inspect.
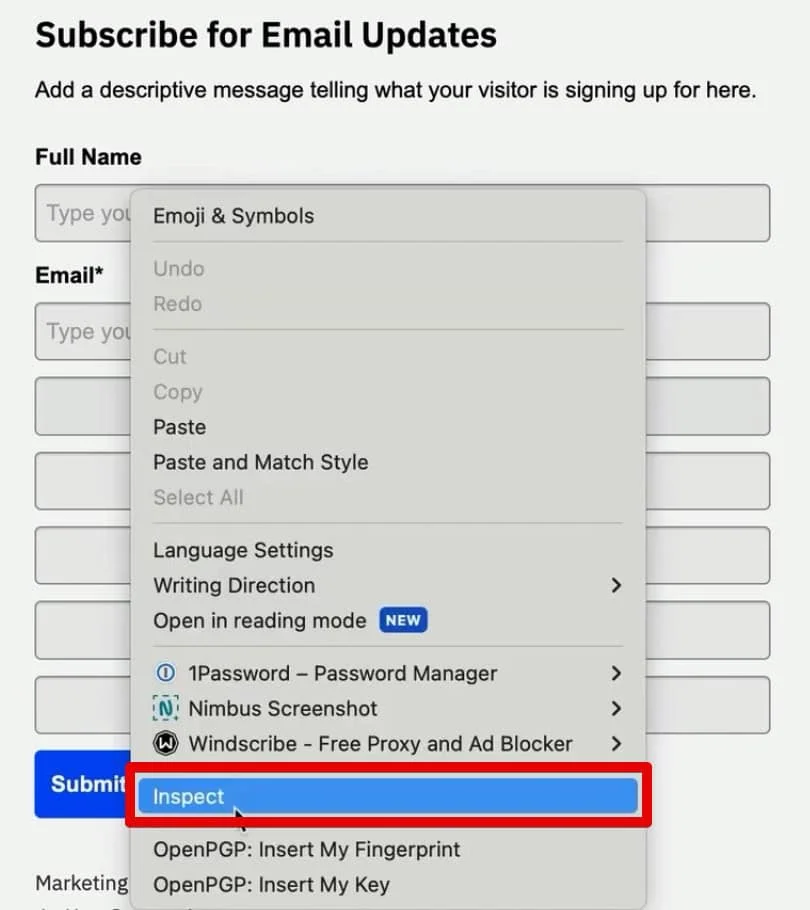
In the elements tab, we can see the field number 5, and the data name is utmsource. To hide a field, change the type from text to hidden.

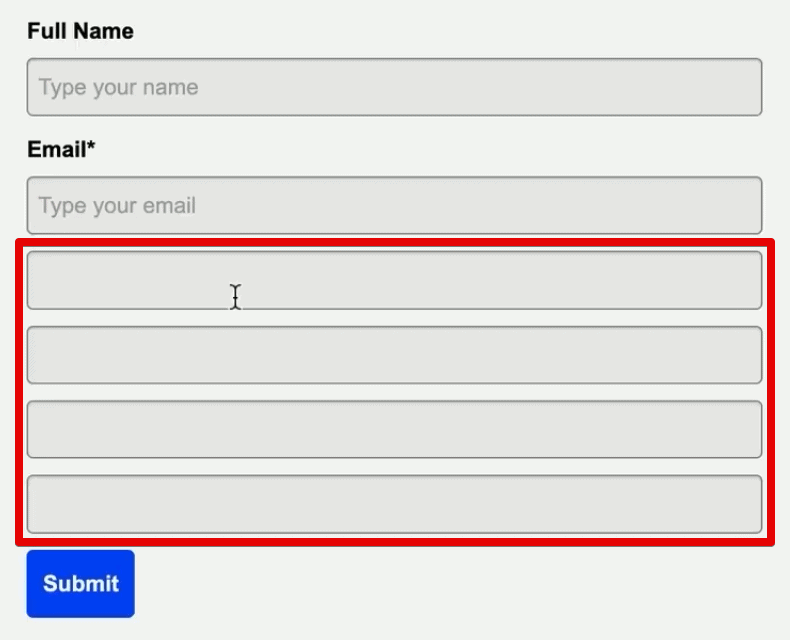
Returning to the form on our website, we can see that we have reduced the number of fields without a header to four.
Now, let’s return to the HTML code in WordPress and change the type to hidden for our UTM parameter fields.

Be careful with changing the form field types, as you may accidentally hide the form fields you want the user to fill out, like the name and email address.
Update the page and verify that only the name and email fields remain.
For a website user, it appears that we only have these two fields, but when we dig into the HTML code, we can see that all are still present.

Saving the UTM Information with 1st-Party Cookies
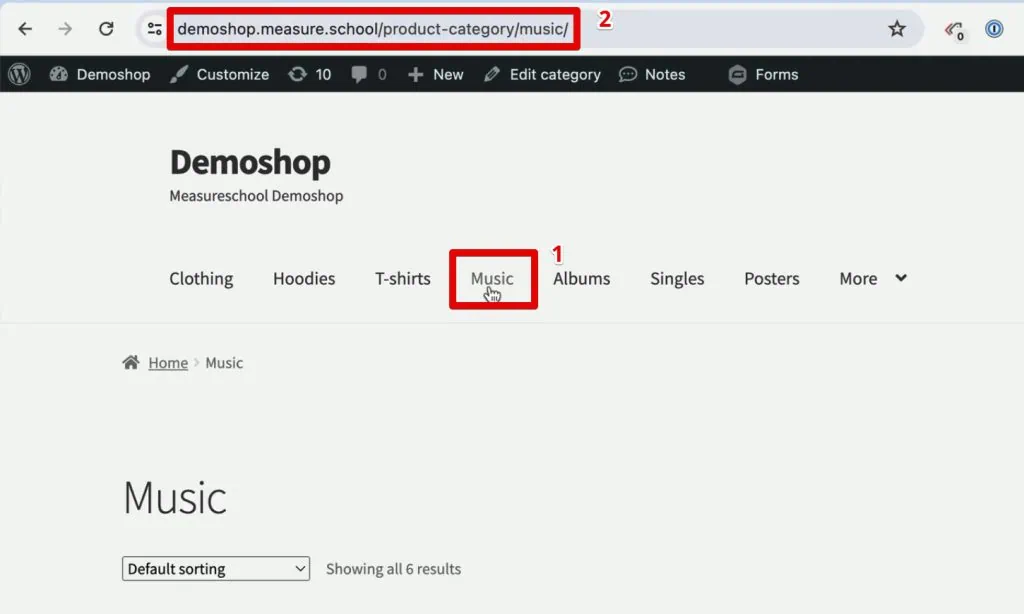
Let’s quickly simulate a user coming to your website with UTM parameters attached to the URL, called a query string.

When they land on the site, this page is usually called the landing page. We want to grab and save the UTM information when the user reaches this page.
The UTM information is only present at this stage. When the user goes to a different page on the website, the query string does not stick around, and the browser forgets it.
Therefore, we need to find a way to remember this information while on the landing page.
That’s where we will utilize cookies. These are not the kind of cookies that will go away soon. We will make first-party cookies that are set through JavaScript using Google Tag Manager.
Let’s go over to Google Tag Manager and click Tags → New.

Next, select Tag Configuration → Custom HTML.

What code are we going to put in? Note that we have prepared the Source Form Fill script with two pieces of code we will utilize in learning how to track lead sources in ActiveCampaign.
Copy the first code for setting the cookie with the source information.

Next, paste this code to the HTML section, then provide a name for the tag.

This script will set the cookie for our source. It creates a source query cookie that will take the query string and put it into the cookie to remember this information.
Next, we will set the trigger for the tag.
So, when do we want to fire the tag? We want to fire it when the user arrives at the landing page because it is only here where the UTM values are available. To do that, we will create a trigger that looks at the URL and sees if UTM parameters are present.
To start, select the Page View trigger configuration.

Select Some Page Views, then set the condition to fire when the Page URL contains utm_medium. Finally, give a name to the trigger.

Save both the trigger and the tag. Great! We can now save UTM information in a first-party cookie. It’s time to see if it works by entering the GTM Preview Mode.
Testing
Click Preview on your GTM workspace.

Next, enter a URL with UTM parameters. Let’s include the UTM source, medium, campaign, content, and term. Then, click Connect.

We will land on the page with these UTM parameters attached.
Navigate to a different page, where you will see the UTM parameters disappear.

Even if there is no UTM information on this page, it should be available in a cookie. How can we view this cookie information?
Again, open the developer tools. Go to the Application tab and look at the Cookies section.

Under your domain, look for the cookie named source_query. You will then find the cookie value at the bottom.

It copies the entire query string in the URL, even the GTM debug information. So, our tag has saved the query string information in the cookie.
Next, we need to set up another tag so that when a user goes to any of our form pages, it will take the UTM information from the cookie and fill out the corresponding hidden form fields.
Filling Hidden Form Fields with UTM Information
At this point, Google Tag Manager will help us out again.
Let’s go ahead and create another custom HTML tag where we will implement the secondary code on our Source Form Fill script.

Paste the code in the HTML section, then provide a name for the tag.

Next, let’s set the trigger for this tag. This time, select the DOM Ready configuration.

It must be DOM-ready because the form must finish loading before we can fill in the UTM information.
Set the trigger to fire on Some DOM Ready Events, and then the condition to when the Page Path contains crm-leads (or where your form is).

Save the trigger. Next, we need to change the code a bit because the code doesn’t know where to put the UTM information yet. What does this mean? Let’s explain what the code does.
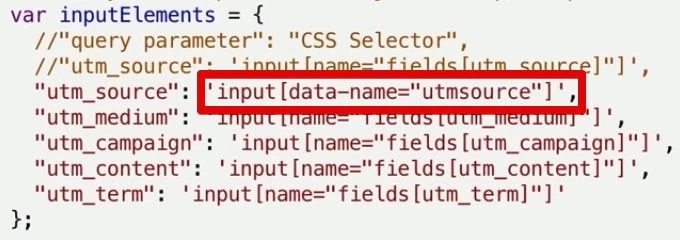
The first section obtains the information from the cookie. Then, it will map the UTM parameters with the corresponding input names of your form fields that match specific CSS selectors.

To designate your UTM parameters to the correct form field, you must have a bit of CSS selector skills. Another option is to utilize a language learning model (LLM) like ChatGPT.
💡 Top Tip: If you are looking into how ChatGPT can benefit digital marketers, check out these 10 Ways to Use ChatGPT with Google Tag Manager.
Let’s open the website HTML code again and look for one of our form fields to give you an idea of what CSS selector you may use.

One technique you can utilize to obtain the CSS selector is by right-clicking on it and selecting Copy → Copy selector.

It will copy the input ID, which is field number 5. While this could work, we think the more telling name is the data name since it contains the UTM source name. Therefore, let’s use this to write our CSS selector.
Next to the utm_source parameter, we want to fill this into the input field where the data name equals utmsource.
Repeat this process for all our other UTM parameters. If your fields are structured similarly, the CSS selectors should follow similar logic. Finally, click Save.

Great! Let’s preview our implementation again and test if it works correctly.
How to Track Lead Sources in ActiveCampaign: Testing
Enter the website again through the URL with UTM parameters. Next, go to the page with the signup form.
It seems that nothing has happened here, but let’s unhide our form fields to check if the UTM parameters carried over. While a user fills out their name and email address, hopefully, our script has worked in the background.
In the developer tools, change the form field input type to text. When our form field shows again, it has the value from our UTM parameters.

That should be the case for the other form fields, as well. For now, let’s submit this information and go into ActiveCampaign.
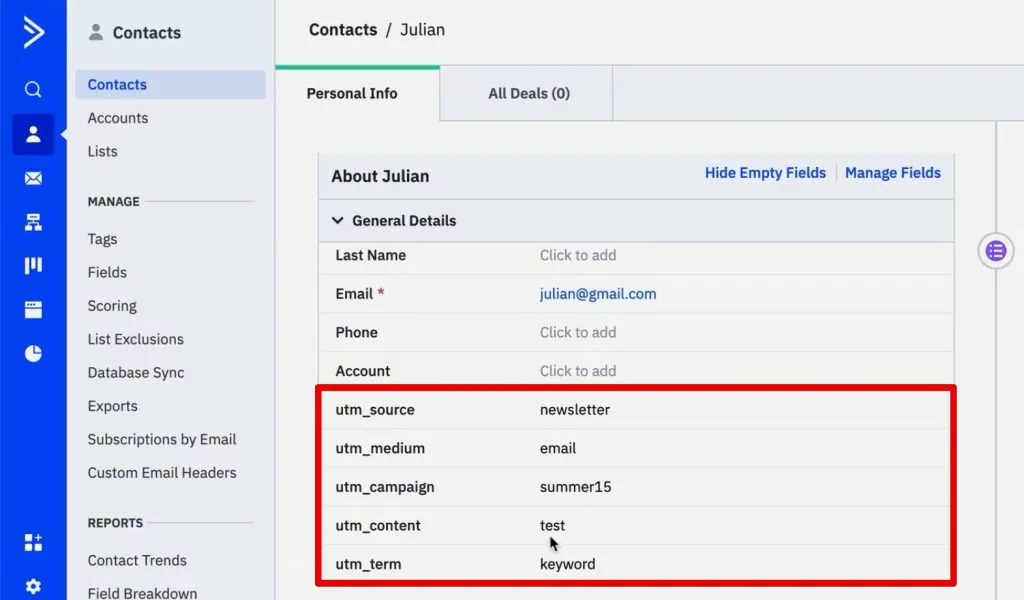
Go to the contact page and check what information we have for this new user. We can see the UTM information attached to the query string when we first landed on our website.
Our little build here has worked, and we can now deploy this as a version.
Click the Submit button to make this implementation live for all your users.

Finally, provide a descriptive version name, then click Publish.

Summary
We realize that our technique on how to track lead sources in ActiveCampaign isn’t complete as there are different ways to know where the user came from – like the referrer, for example.
Feel free to take the script and alter it for your use cases. You could also obtain the Google Click ID or Facebook Click ID and import it into the system to do offline conversion tracking.
It’s beneficial to have the UTM information directly in your CRM. What if I told you there is an easier way to implement this? Check out our SourceLink App.
Sign up for our waiting list because we are launching this tool soon, which does all the steps we discussed. No more trying to fiddle with the form fields and figuring out the CSS selectors. Just install this tool, and it will do all the heavy lifting.
It will import all the UTM information, and you will have the attribution data directly in your CRM.
Nonetheless, we hope this technique helped and showed you what is possible with the magic of JavaScript, Google Tag Manager, cookies, and hidden form fields.
We also made a guide for Tracking Lead Sources in ConvertKit that you can check out if you use this platform.
What UTM information do you think is most important in your CRM? Do you know other techniques for tracking lead sources? Let us know in the comments below!


")